
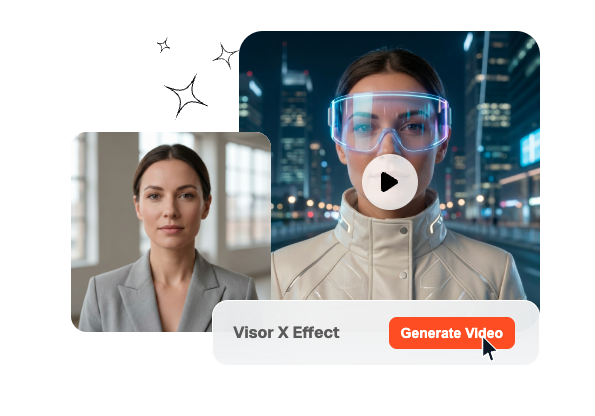
Free Visor X Video Effect
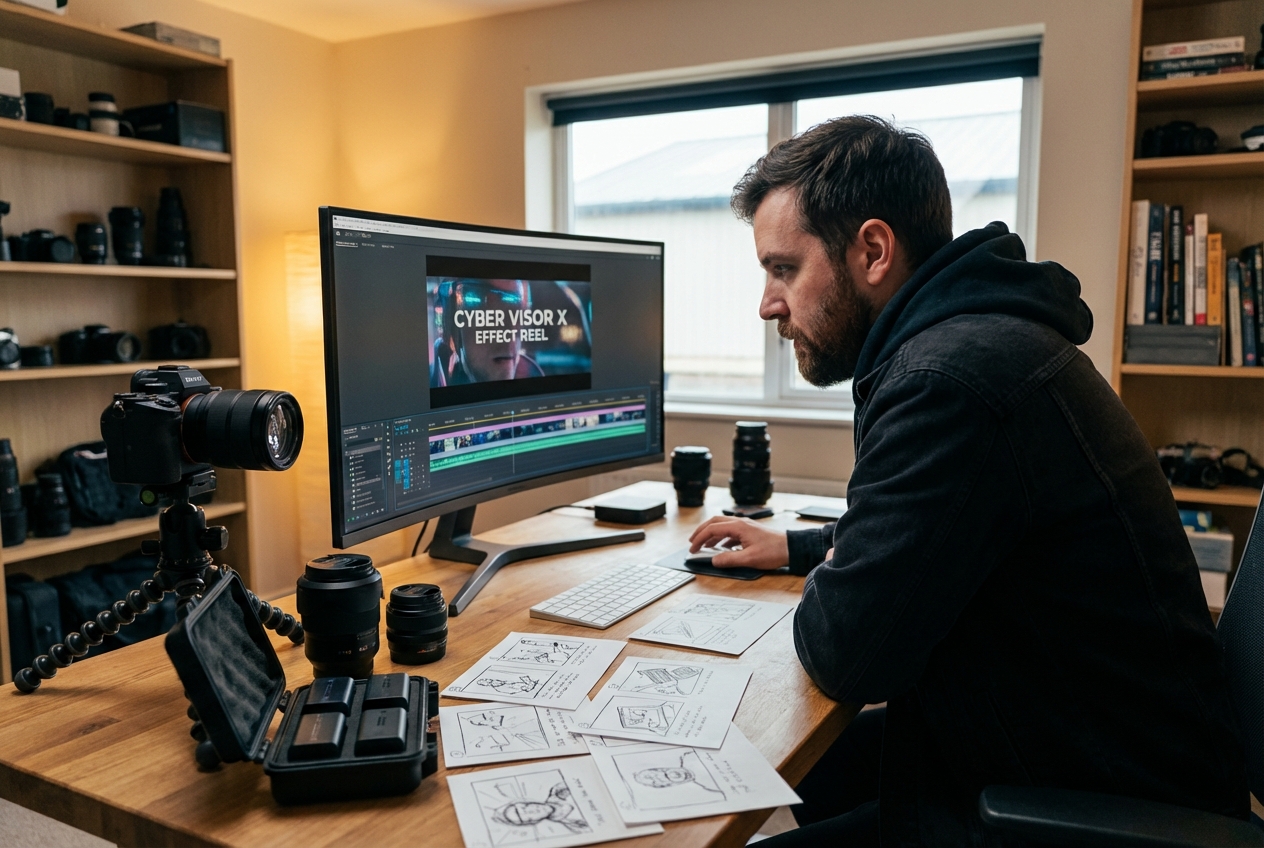
Add a futuristic glow with the Visor X Effect. Upload your photo and let the cyber style visor animation sweep across the screen, revealing your scene with a bold sci-fi transition.
Create Visor X Effect Fast
Turn prompts and optional frames into a Visor X Effect shot where a cyber visor drops with neon data motion. Veme lets you tune model, duration, and quality for faster cinematic results that stay usable.
Who This Workflow Fits
This cyber visor workflow fits teams that need a futuristic face reveal without spending days on manual compositing. It works best in creator pipelines where speed, consistency, and polished styling all need to stay aligned.
Video creators can use this workflow to open reels, outfit switches, or persona changes with one strong beat. The visor drop feels premium on short content while staying quick enough for frequent publishing.
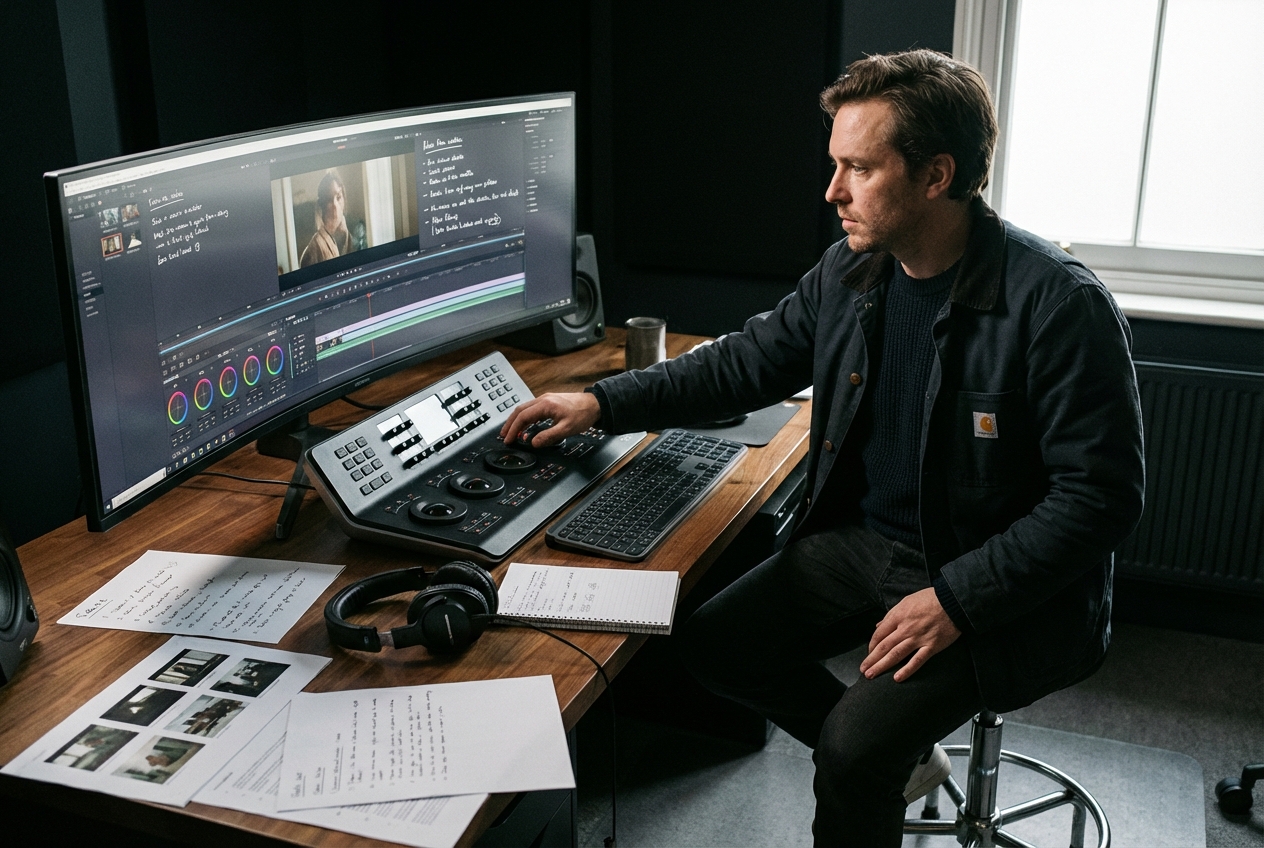
Solo editors get a polished visor workflow without turning revisions into a heavy manual task. They can test prompts, frames, and settings quickly while keeping the visor style consistent for clients.

Ad teams can repeat a cyber visor look across launch cuts, teasers, and paid variants without rebuilding every transition. That keeps campaign reviews faster when multiple editors need the same finish in each version.
How the Workflow Works
The cyber visor workflow stays short enough for testing but structured enough for repeatable output. You choose the frames, describe the visor motion, and lock the render settings before generation starts.
Step 1
Add Frames
Upload a start frame, an end frame, or both when the visor landing needs a clear target. Frame guidance helps the Visor X Effect stay attached to the subject instead of drifting away.
Step 2
Write Prompt
Describe how the visor should fall, glow, and settle so the motion reads clearly on screen. Strong prompt detail makes the cyber move easier to steer across realism, energy, and overall mood.
Step 3
Pick Output
Choose model, duration, and quality settings that match where the final clip will be published. This keeps Visor X Effect tests fast for review while still leaving room for cleaner finals after approval.
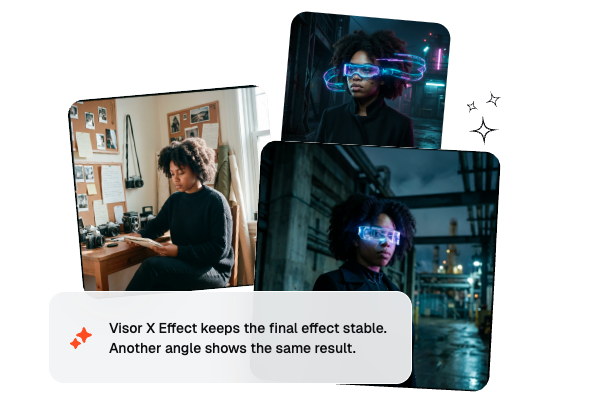
Control the Visor X Effect
These controls keep Visor X Effect output flexible for experiments and stable for real delivery. Each one reduces manual cleanup while giving creators tighter control over visor motion, timing, and repeatable cyber styling.
Frame Input
You can guide the effect with only a start frame, only an end frame, or both. That gives the visor move enough structure for exact landings while still allowing prompt driven variation.
Prompt Motion
The Visor X Effect responds to prompt details like visor speed, glow intensity, landing angle, and scene tone. That means creators can shape the cyber motion directly instead of relying on one fixed transition preset.
Output Control
Model, duration, and quality settings let each shot match the publishing goal more closely. Teams can move from quick tests to cleaner finals without rebuilding the same visor idea from scratch.
Fast Iteration
Veme keeps the Visor X Effect workflow light enough for fast comparisons across prompts, frames, and timing choices. That helps creators review more options sooner and lock a usable direction without extra pipeline overhead.
Cyber Visor FAQ
What is a Visor X effect in AI video?
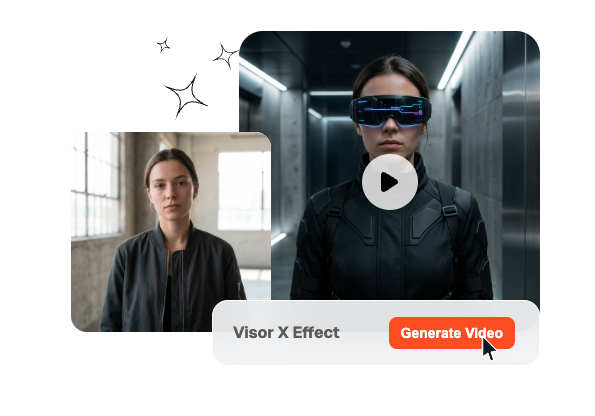
A Visor X effect drops a futuristic visor over the face so the shot shifts into a cyber look. The motion can feel sleek, aggressive, or stylish depending on your prompt. It works best when the landing timing and face framing stay clear.
Can I make a visor video from only a prompt?
Yes, you can start with only a prompt, then add frames when the visor landing needs a tighter target. Prompt-only tests are useful for checking mood and pacing before you commit to exact framing. Frame guidance matters more when the final shot must match a specific beat.
How is it different from a normal AI transition?
A normal AI transition often focuses on scene change, while this effect centers on the visor falling over the subject. That makes the move feel more character driven and more fashion forward. It is especially useful when you want a visible cyber action instead of a soft dissolve.
Can I speed up or slow the visor move?
Sure, you can describe faster or slower visor timing in the prompt and pair it with different duration settings. That helps if you want a Speed up Visor X Effect for sharp hooks or a Slow Visor X Effect for dramatic reveals. Testing both usually shows which rhythm fits the shot better.
What makes the result look more cinematic?
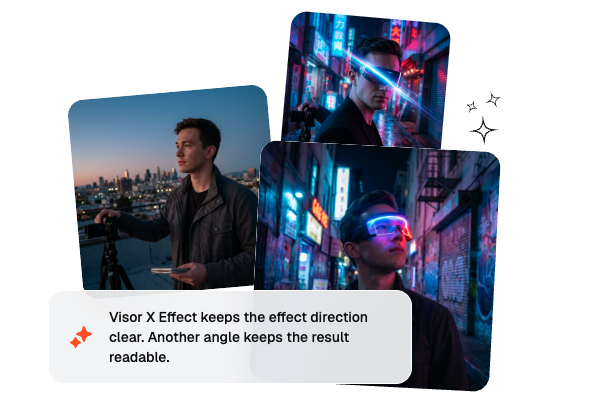
Use cleaner framing, a strong face angle, and prompt details around glow, data flow, and landing behavior. Consistent lighting also helps the visor feel integrated instead of pasted on top. If you want a stronger futuristic finish, keep the cyber styling specific and repeatable.
Make Cyber Visor Videos
Create a cyber visor clip with faster setup, cleaner control, and repeatable styling from one workflow.